Choosing and Buying a Telescope
Anna’s Mum bought Morgan and I a telescope for Christmas. I did of course have quite a bit of input into which one to get, and choosing a suitable telescope isn’t as easy as it might sound, so I thought I’d share some of my research here.
The Factors to take into consideration.
There were many factors to take into consideration. As beginners to the world of astronomical observing we wanted something that was going to be fairly versatile and not too difficult to use. Cost was also an important consideration so we weren’t looking at top of the range here, just a decent beginners telescope that would allow us to look at plenty of things with ease. What you want to do with the telescope is also important in the decision making process. Certain types of telescope are better at certain things, but as beginners we wanted to be able to look at everything!
Other things to take into consideration are of course the specifications of the telescope itself, the most of important of these being the aperture, the eyepieces and accessories that come with it, the ease of use and it size. The latter is important for storage and portability. Of course, some people have huge telescopes installed in permanent observatories in the back garden, but we weren’t going quite that far – yet!
The Mount.
Also important was the mount that came with the telescope. From what I had read, Equatorial mounts seemed to be the way to go, as they are easy to use and allow easy tracking of objects. As I was likely to be wanting to take photos through it I wanted an Equatorial mounting with a motor drive as this allows the telescope to track objects in the night sky, compensating for the rotation of the earth by driving the Equatorial mounting with a little motor. Obviously this had to be as sturdy as possible and on a good sturdy tripod as well.
It is possible to buy computerised system with GOTO systems that will automatically point the telescope at a a particular object stored within the computers database. Some are even available with built in GPS and electronic compasses so that they know where there are and where everything in the sky is. Although these sound like pretty clever gadgets they would have taken away some of the learning process of finding our way around the night sky, and of course they don’t come cheap. I decided it was better to spend the money on a larger aperture and better optics that fancy gizmos like GOTO systems.
Refractor vs. Reflector
The two main types of telescope that were within our price range were the refractors and the reflectors. Reflector telescopes appear to give more value for money. They have simpler optics and therefore provide you with larger apertures and more light gathering capabilities than similarly priced refractor scopes. This makes reflectors ideal for observing deep space objects such as galaxies and nebulae, but they are also suitable for viewing closer objects such as the Moon and planets of our Solar System.
Refractors on the other hand are excellent for the closer objects, but no so good at deep space observation – at least not those with aperture sizes that were within our budget.
What did we choose

Skywatcher Telescope
We therefore decided to go for a reflector scope as this seemed to provide us with the best value for money at our price range. We were looking at the lower end of the scale price-wise, so if we had gone for a refractor, complete with a Equatorial Mount and a motor drive, the aperture would have been pretty small at around 75mm and therefore it’s light gathering capabilities limited. It would have been really good for the Moon and Planets but would probably have made it fairly useless for observing deep sky objects.
It was possible however to find reflector scopes at the same price with apertures in the region of 130mm. These also had an equatorial mount, tripod and motor drive. To me this looked like the better option as it would prove more versatile. Now, most books seem to suggest that the minimum size you should really go for is a 150mm scope. These were out of our price range as beginners and I’m sure a 130mm scope is better than none at all, so that’s what we got.
We actually plumped for a Skywatcher Explorer 130M which cost £169.
First Impressions
So far we’ve been really pleased with it. It is quite a large piece of kit, but not so huge that it takes up an entire room or is too difficult to move in and out of the house. Setting it up was fairly straight forward, even for complete beginners such as us. I’ve never really even seen a telescope, let alone used one, but the instructions were clear and easy to follow so I soon had it up and running.
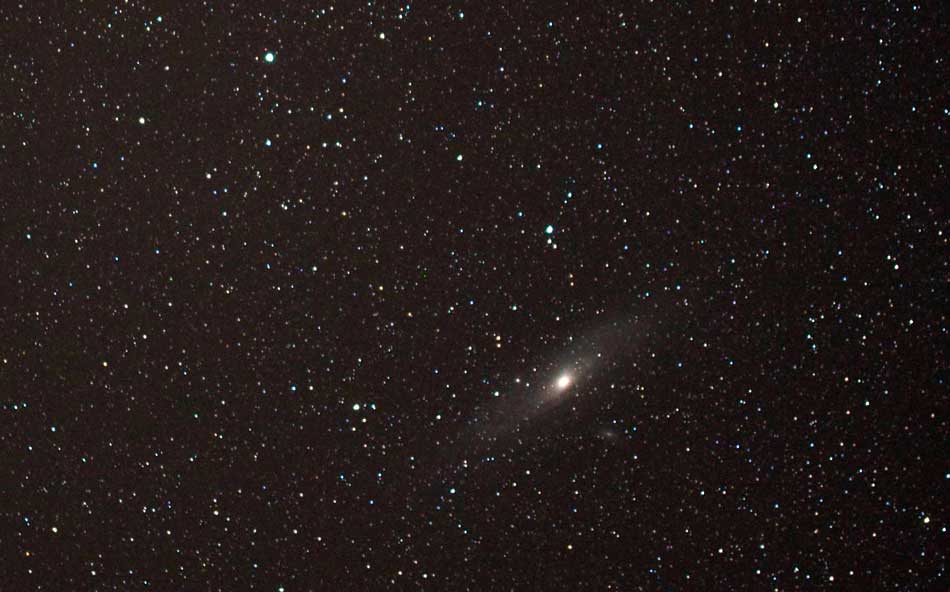
We haven’t had many clear nights yet but on the one night that we have had the telescope performed really well. We were able to see some really good clear details on the Moon, the Gallilean Moons of Jupiter were very clear and we could even make out some banding on Jupiter itself.
It looks as though the research has paid off and we have the right scope for us. I’ve yet to use the motor drive properly, but have now bought a T Mount adaptor that will allow me to fit my Canon Eos 450D to the telescope and hopefully get some photos. So, as soon as the weather improves I shall be trying it out. If I get any good results (or bad ones for that matter) I shall blog about them here.
Once we’ve tried some photography of some objects in our Solar System we shall start using the scope to look for some deep sky objects to see how well it performs in that respect.
Conclusions
No doubt if we really get into it we’ll want something bigger and better in the future, but for now and for beginners like us this seems like the perfect telescope. It is large enough to enable us to observe things that we couldn’t otherwise see, it isn’t so large as to be unwieldy or too space consuming. If it was too big it would probably end up being packed away somewhere and not used much. This one can stay out in the conservatory ready to go whenever the skies are clear and the ‘seeing is good’.
It is easy to use but still fairly well featured and it appears to do everything we want it too. We can’t wait for some more clear nights to allow is to start touring the heavens.
Discover more from A Simple Life of Luxury
Subscribe to get the latest posts sent to your email.


Well, the T mount arrived and I’ve tried to use it. It does indeed create a physical connection between the telescope and the camera, but unfortunately there isn’t enough inward travel on the focussing pillar of the telescope to achieve focus on the focal plane of the camera.
It’s a little odd that seeing as the telescopes focussing pillar has a T mount thread on it – it’s not a lot of use if you then can’t achieve focus. So, no photos yet.
I’ve done some more research though it it looks as though it might be possible to achieve focus if I us the barlow lens on the telescope and then attach the camera to that. This will require a 1.25″ t adaptor that fits into the barlow lens and then allows me to attach the t Mount to it, so I shall have to try that next. I’m just waiting for confirmation that it works before I buy the adaptor.
if not, then maybe a webcam will do the trick, but if possible it would be nice to get the SLR connected to the scope. Once / if I get it sorted I’ll post a full blog post outlining the problems and solutions.
Al.