New Roofrack Day
How exciting can a roofrack be? Well, my new one from DropRacks is about as good as they get.
The Roof Rack Challenge
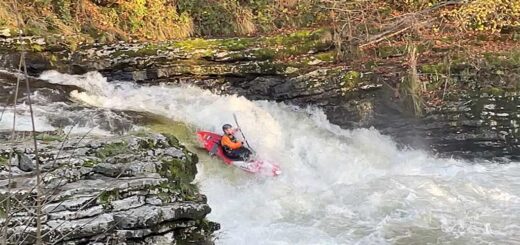
Having a van as a vehicle and needing to get long, heavy, difficult to handle and often expensive toys such as surf ski’s and canoes onto the roof isn’t easy. I’d managed, and had developed a good technique to do so. However, in anything more than a gentle breeze it was always a bit worrying until I’d managed to get it strapped down. This was especially the case when doing so alone.
The fact that the WhispBar ‘V’-bars that I was using had succumbed to some neglect during lockdown and then further lack of use when I was recovering from my heart attack wasn’t helping matters. They weren’t quite a functional as they used to be. That, coupled with the fact that I was only getting older and less able to climb about on the camper as I used to be meant that it was time for something new.
I’d need some new V-Bars at the very least. The trouble was I couldn’t get the old ones off of the Thule SlideBars that were on the roof. This meant that I’d probably need some new bars as well. These things don’t some cheap. A new set of Slide Bars and a new kayak cradle would be close to £600. It would work better than what I had but wouldn’t really solve the problem in stronger winds. It would just be the same as I had now but newer.
I’d seen the Karitek system that lowers the roof rack beside the van. It looked useful but I didn’t really like the look of it. It was also around £750 for the Karitek system itself. This fits onto existing roof bars so I’d have to be new roof bars as well as the Karitek rack. I’d still need a decent kayak cradle too, but that was going to be the case whatever I did.
Drop Racks
I then came across another similar product called DropRacks. This rack not only brought the roofrack down beside the van but lowered it horizontally besides the van. The DropRack itself also looked quite nice and didn’t need roof bars as the rack itself incorporates these. It would only need the feet which I already had. They weren’t cheap mind you at around £1500 and I would still need a kayak cradle. However after some research I decided to bite the bullet and give it a go.
New Roof Rack
I spent Tuesday getting it all set up and fitted to the van and so far it is working well.
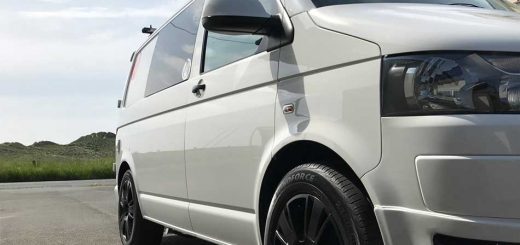
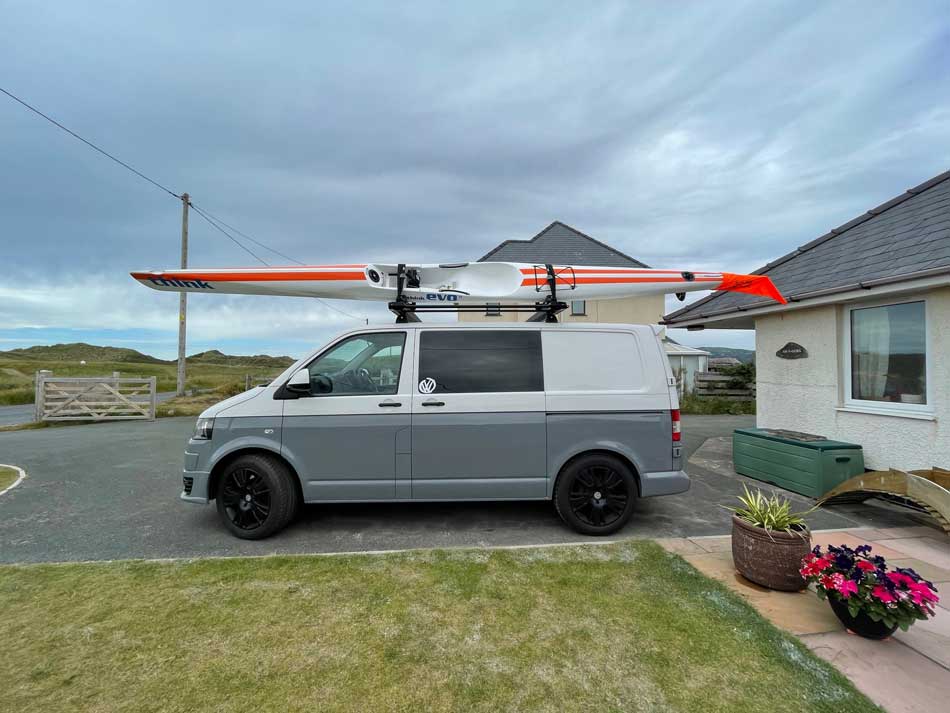
On the van without anything on it the rack is of course quite bulky. The black finish looks good though and it ties in with the rest of the van nicely. I went for a Thule Hull-a-Port Aero kayak cradle as well. Again, it ties in with the van, Thule products are always good and it folds down neatly when not in use. I wasn’t sure how well a surf ski would fit into it but it is designed for all sorts of kayaks so I was fairly certain it would be OK – it was. You can see it (folded down) on the otherwise empty DropRack below.


The rack itself may not be the most aerodynamic thing so I’m sure it doesn’t do much for the fuel economy of the camper.. The camper wasn’t great at that anyway. We don’t have it for speed and economy though, the camper is all about practicality. That means being able to sleep, cook and generally be comfortable inside and being able to carry lots of toys both in and on it. The DropRacks was only going to help with this.
Loading and Unloading.
With the rack attached it was time to try it out. It has two sturdy locking clips that simply press in to unlock it. The entire rack then slides out as one over the side of the van.


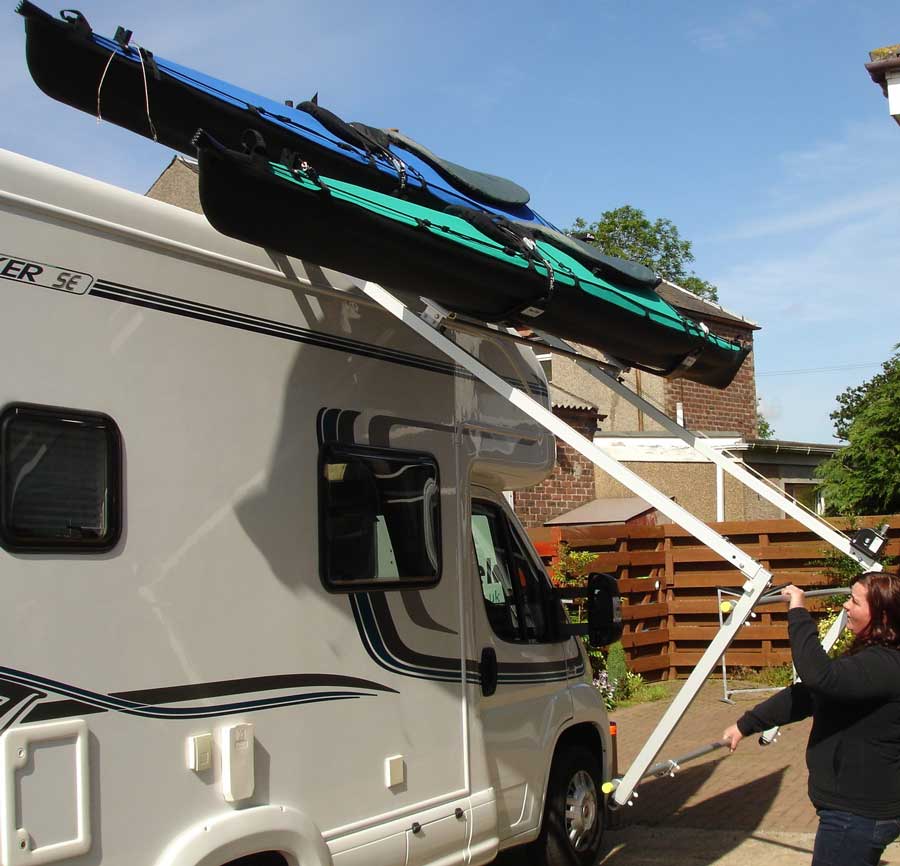
It’s pretty secure in this position and I’m thinking of converting an old tent or an old kitesurf kite into an awning that will clip onto the rack in this position and then peg into the ground giving us an awning over the sliding door. Once the rack is extended laterally there is then a crank handle on the rear that you turn to lower the rack down and out to the side.


Once in this position it is easy to access the kayak cradle and load kayaks or anything else onto it. Essentially the roof rack is lowered to about chest height. It does mean that I can’t open the front door or the sliding door when it is in this position but that’s not too big a deal.
The crank handle then winds the rack back up to roof height where it simply slides back in and locks into place ready to go. It seems to hold my surf ski pretty securely and there is plenty of room for more boats as well.
So far so good. Loading and unloading has been easy. The real test will of course be this time next year once it has dealt with a winter of sand and salt. Living where we do should be a good test of the longevity of the mechanism. I’m hoping it will last well and I think the secret will be to use it regularly.
Discover more from A Simple Life of Luxury
Subscribe to get the latest posts sent to your email.