Mountain Lion at Last
I’ve finally caught up with the rest of the Mac World by upgrading my iMac to run the latest Apple operating system Mountain Lion (OX 10.8).
I had several reasons for waiting so long to do so. First was the fact that Snow Leopard (OS 10.6) was running perfectly well on my machine. I was able to do everything that I needed to on it and pretty much everything that I wanted to do as well. All my applications worked within it and there were no limitations, so there was no compelling reason to upgrade, even though the upgrade was only £13.99. Secondly, upgrading the operating system can be fraught with difficulties. It can lead to incompatibilities with applications, may not work well on your hardware and the operating system it self may have some limitations over previous versions. I didn’t really want to face all of these potential pitfalls if I wasn’t going to gain anything from it. Finally, as a freelance website designer my computer is my business. I can’t afford not to have it up and running for any reason and certainly don’t want to be messing with the operating system on what is a production machine.
However, it’s also nice to keep up with the latest developments and to be running the latest software so I’d told myself that I would give it a go over the Christmas break whilst I had no immediate work on and had the time to sort out any issues with the upgrade. The main reason for wanting to upgrade was just to keep up, but also to try out some of the new features and probably the most compelling reason was that a number of my applications had new updates that would only run under Lion or Mountain Lion so I was getting left behind with the updates. This was especially true of the latest version of Rubitrack which had some nice looking new features that I wanted to play with. (I’ll write a full review of Rubitrack sometime soon, but it’s a very nice looking exercise tracking application for the Mac.)
The process
I haven’t had much work on lately so managed to wrap most things up ready for Christmas at the end of last week. So, earlier this week I took the plunge and went for the OS upgrade. The process itself was straight forward, but there were a few steps I took beforehand.
1. Check application compatibility: I didn’t want to upgrade only to find out that some mission critical application wouldn’t work so I was quite thorough when it came to checking. Most applications are updated regularly and often freely or at very little cost by developers. I tend to keep them up to date so most were fine as they had already been updated to work under Mountain Lion. The ones I was most worried about were applications such as my accounting software which for some reason is notoriously difficult with such things. I’ve had problems with AccountEdge in the past. The developers never offer free updates and always try to get you to pay for a full version and I’m sure they build in incompatibilities with future operating systems on purpose just so that you are forced to upgrade – buying a copy of the software without having to pay an extortionate annual fee was a challenge in itself. Thankfully after checking with the roaring apps compatibility table I was pleased to see that it was compatible. I was also careful to check on other mission critical and expensive applications such as Adobe Photoshop and Microsoft Office.
2. Have a clear out and health check: Before the upgrade I had a little bit of a clear out, deleting old files that were no longer needed, updating any apps that needed it, running software update on the current system, deleting some caches, repairing file permissions and such like. Just a few maintenance tasks to make sure everything was firing on all cylinders.
3. Make my Back Ups: I’m always diligent with back-ups. I use SuperDuper! to make cloned backups on external hard disks that I can boot from. I do a daily backup, a weekly backup and a monthly backup all of which are stored on three separate drives and run automatically at their set frequencies. I also have a Time Machine back-up and an external backup in the form of a Carbonite account – although with our slow Internet connection the latter can never quite keep up with the amount of new data I generate and despite running 24 hours a day still has a whopping 66GB of data to upload at them moment.
4. Check my Back Ups: It’s all well and good having backups, but before a major update such as an OS upgrade I like to check that they are in good working order. I therefore rebooted the Mac from each of the cloned drives just to check that they were working as expected. All was good.
5. Run the upgrade: The next stage was easy, I fired up the App Store, clicked on the install Mountain Lion button entered my password and left it to it. The main issue here was the wait thanks to our slow broadband connection. The Mountain Lion installer file was just over 4GB in size which took over 24 hours to download. It got there in the end though and the installer automatically opened.
6. Create a Bootable Repair Disk: It would be easy to miss this stage out, but should the worst happen and I need to start up from a repair disk at some point it will be handy to have one available. As this OS was only distributed as a digital download via the app store there was no physical disk with it. I therefore made one of my own on an 8GB pen drive. Rather than do this myself I took the easy route and used Lion DiskMaker. Note: You need to do this now before you run the Mountain Lion installer as once it runs, the installer gets removed.
7. Install Mountain Lion: Once I’d created the repair disk it was then just a matter of clicking on the install button and letting the big cats fight it out with hopefully Mountain Lion overpowering Snow Leopard to be the new OS on my Mac. Half an hour later, my Mac rebooted and I was running Mountain Lion. It couldn’t have been easier.
New Features
Of course, as soon as it started up I was keen to explore some of the new features, although it has to be said there isn’t really anything revolutionary. I checked my applications and all seemed good. Best of all my Mac hadn’t bogged down with the new OS and was running just as quickly as before. It’s not the fastest machine on the block and often the latest OS can struggle on older hardware but this wasn’t any slower and may even be slightly faster.
Notification Centre was new. It works well and is a nice addition to the operating system, but it didn’t offer me anything new really as the features I will use from it I already had thanks to running Growl under Snow Leopard. I guess it’s better to have it integrated into the OS though.
Notification Centre
Launchpad is new and looks nice, but that’s about it. I launch apps using spotlight and keyboard shortcuts so launchpad is no use to me.
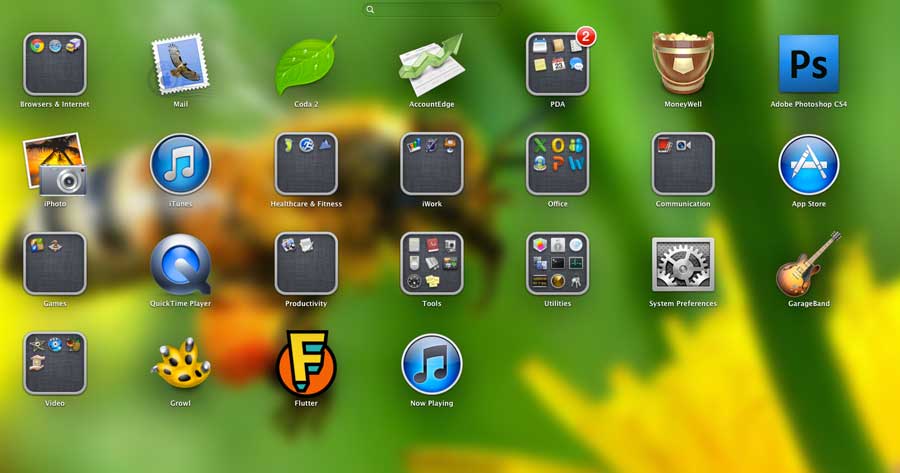
Launchpad
Mission Control is new too, but again I’ve never used ‘spaces’ and tend to navigate between apps through the use of keyboard shortcuts. I’m always multi-tasking between at least 4 applications and generally have around 10-15 applications open. Trying to arrange them into separate desktops for separate task doesn’t help me, I want them all there at the end of my fingertips all the time so just need one desktop spread over several monitors with keyboard shortcuts set up for access to them all.
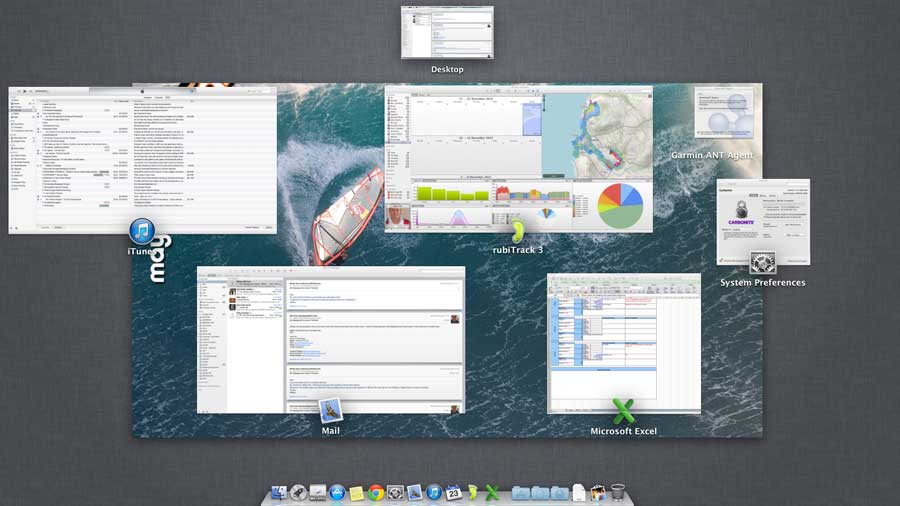
Mission Control
Full Screen View is also a fairly redundant new feature for me for much the same reasons. I can see how distraction free working in a single application could be nice, but that’s not the way I work. I like access to everything all at the same time so that I can see the progress of one application whilst working in another. Going fullscreen doesn’t do anything for me and it doesn’t work well with dual monitors anyway.
The new User Interface is nice though. It’s ‘squarer’ and ‘flatter’ than before and feels more professional. The rounded ‘aqua’ interface has gone to be replaced with a slick, grey palette that offers you the options and feedback you need without being too showy. I like that.
The new ‘Save As…‘ and ‘Duplicate‘ options within applications are a little confusing. Lots has been written on this elsewhere, but essentially out of the box it no longer worked as it used to. I always used to work on a document, save it and then continue working on it. If I then got to a stage where I wanted to save the new version but preserve the original version just in case I needed to revert to it I would use the ‘Save As…’ command to leave the old version as it was and save the latest version as a new copy. That no longer worked and would end up saving two copies of the file in its current state. Some applications do support versioning which meant that this was OK, but again it isn’t the way I work. Thankfully there is a way around this so that the old behaviour is returned. It’s easy to revert back to the old behaviour just by unchecking a few boxes in some system preferences and by changing the keyboard shortcuts for Save As… and Duplicate so once I’d set that up I was saving files as before. I also had a quick play with the versioning features in applications such as Pages and it does seem like a very nice implementation of such a feature. No doubt I’ll have the need to use it now and then so it’s nice to have it there, although it only really replicates something that Time Machine already does albeit on a file level within an application.
Natural Scrolling is taking some getting used to, but I’m going to stick with it as it does make sense. I think it might take a while to reverse my mind from years of unnatural scrolling and then no doubt once I have it’ll drive me nuts when using Windows PC’s. I could just change it back to the way it was within System Preferences but I shall preserver.
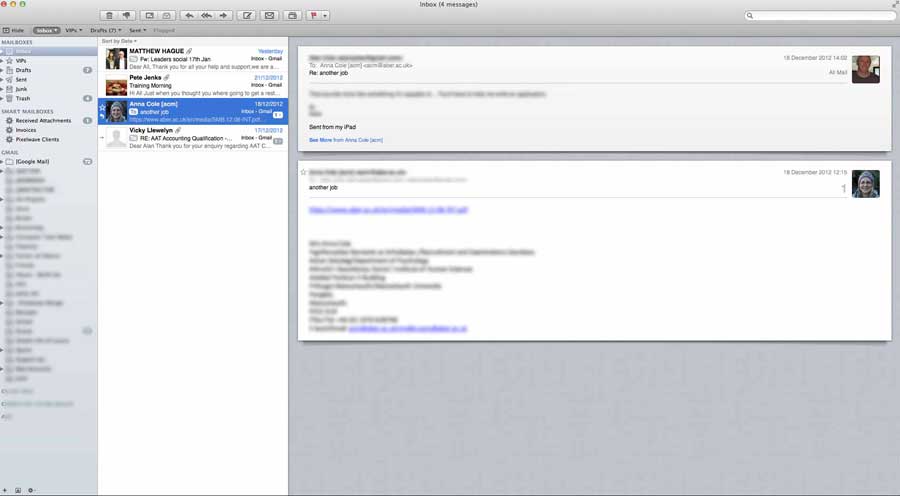
The new Mail application is nice, there isn’t a huge amount of new stuff here but conversation views are useful and I’m sure things such as VIPs could be handy as well.
As you can see, so far it was as expected. There are very few, if any, compelling reasons for upgrading, but there are a few nice additions. Probably the best thing for me is that I can now use iCloud to keep things such as my address books and calendars in synch between my Mac and my iOS devices such as my iPad. Previously contacts would copy across from one to another when the iOS device wirelessly synched and I was using Google Calendar to sync calendars on my Mac with those on my iPad. I used to have calendars on my Mac that would automatically publish to Google Calendar and then my iPad would subscribe to these calendars – I could make changes either on the Mac, the iPad or within Google Calendar and all would stay in sync.
I don’t use iCal on my Mac, preferring instead to use BusyCal. There was a new version of BusyCal available that wasn’t compatible with my old OS so it was now time to upgrade. Things were little different in this version though and you could no longer publish local calendars to Google Calendar. There had been a slight paradigm shift encouraging you to use a copy in ‘The Cloud’ as the ‘master copy’ of your calendars and then all clients including your Mac and iPad connect to the copy in the cloud. It was still possible to do this using Google Calendar but I decided to take the easy route and use iCloud instead. I now have my Calendars in iCloud and my Contacts there too and so far it is working beautifully. The data is still available when offline but any changes you make are sent to the ‘master copy’ on iCloud when you are next online and are then pushed out to the other devices. I was a little reluctant to use iCloud as Apple aren’t usually great when it comes to cloud computing services but for my needs it has so far been perfect.
Overall
Overall I’ve been pleased. The upgrade process was surprisingly easy and much less fraught than I had anticipated. The new features aren’t life-changing but a few of them make the £13.99 price tag worthwhile and it’s nice to be up to date again. It’s also good to be able to try out a few of the applications that were not compatible with Snow Leopard. No doubt Apple will bring out OS10.9 now though!
Discover more from A Simple Life of Luxury
Subscribe to get the latest posts sent to your email.