Laminate Flooring Lockdown DIY
It may be almost 18 months since the installation of some LED lights prompted a re-decoration of the hall, but I think it is now (almost) finally finished. The combination of a Bank Holiday Easter weekend and the Coronavirus lockdown were the perfect set of circumstances to do some DIY.
The flooring and accessories arrived on Thursday so the first task was to remove the old carpet and laminate and prepare the hall for a new floor.

This was pretty easy so after a quick vacuum I set to laying the underlay. This was relatively easy too as a single sheet was almost a perfect fit for the width of the narrow hallway. It just needed trimming to size a little and then a second sheet was laid in the area by the front door.


With that done it was left overnight ready for the real fun to begin.
Laying Laminate Flooring
Laying laminate flooring is actually quite an easy DIY project, but as you know, ‘nothing is ever easy!’.
It’s easy if you are laying it in a large rectangular room with only a single door and no real obstacles. Our Hallway is nothing like this. It’s ‘L’-shaped, fairly narrow and has 9 (yep, 9!) doorways, with at least one on every wall and also an awkward storage heater. In a simple room you would just have to trim the ends off one piece of laminate at the end of each run and then probably cut a couple of corners off one piece for a doorway. I had to cut virtually every piece and often in a number of different intricate shapes at either end and in the middle just to get them to fit.
Some were a little too accurate and had to be trimmed again to allow for an expansion gap. Not only that but I first had to cut the bottom of the door jams off sop that the laminate could slide under them.
These awkward shapes created a large jigsaw puzzle that then had to be put together in a particular order. We spent a fair amount of time planning our angle of attack before putting saw to plank. We tried to minimise the cutting but however we did it there was going to be a lot of cutting required so in the end it didn’t really make much difference. Gradually, but by bit during Friday, whilst powerd by delicious home made Hot Cross Buns, each piece was cut into its specific intricate shape and fitted into place.

The intricate shapes made fitting some pieces together a little awkward especially towards the end but by the end of the day most of the pieces were in place.


Battling with the doors
Saturday morning was spent cutting door thresholds into shape and putting them in place. Even this wasn’t simple as again each needed to be cut to a custom shape and then as the carpets and tiles that they were butting up to were lower than the new laminate I often had to fashion little shims to keep them properly in place.
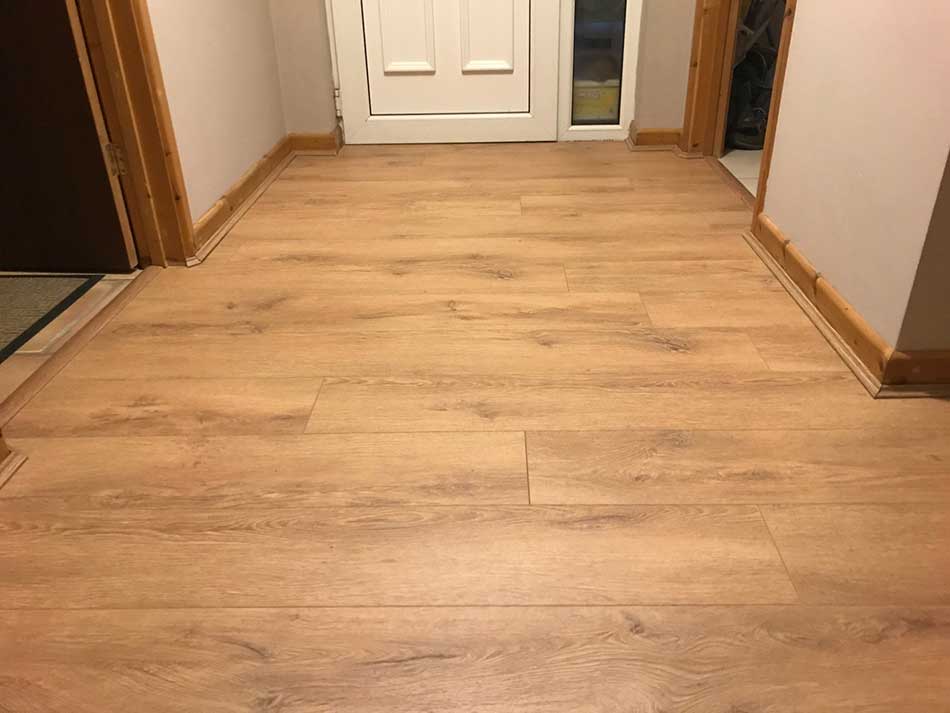
Next was the job of then fitting the last few pieces of laminate up to the front door. This is where things got a little more difficult. It was impossible to fit the last piece of laminate under the front door without removing the door itself. The first three hinge pins from the sturdy uPVC door were removed quite easily but the bottom one was having none of it. It was corroded, bent and not giving up easily. It took ages to get it out and the bend in it meant that it gouged the plaster a little, but eventually after much struggling, some GT85 and and lost of failed attempts it was free. The door was removed, the last piece of flooring clicked into place and then a few minutes later the door was back on again.
A quick bit of filler fixed the plaster too.
Next, the doors into the Airing cupboard would no longer open as the laminate flooring was higher than the old flooring. Luckily I noticed this before it was far too late. I did have to remove a few planks of laminate that had already been fitted but if I hadn’t noticed until fitting it all, the front dor would have had to be removed again, along with most of the flooring just so that we could open the airing cupboard doors in order to remove them! If that had been the case I may well have given up!
With the airing cupboard doors off it was time to trim them down. I didn’t have a circular saw or any power tools suitable for the job so there was nothing I could do but saw them, plane them and sand them by hand. Needless to say this took ages just for these two small doors. Trouble was, there were another 8 doors that were bigger that needed the same treatment. I decided to leave those until Sunday, just in case I came up with a brainwave overnight on an easier way to do it.
Edging Strips and Angles.
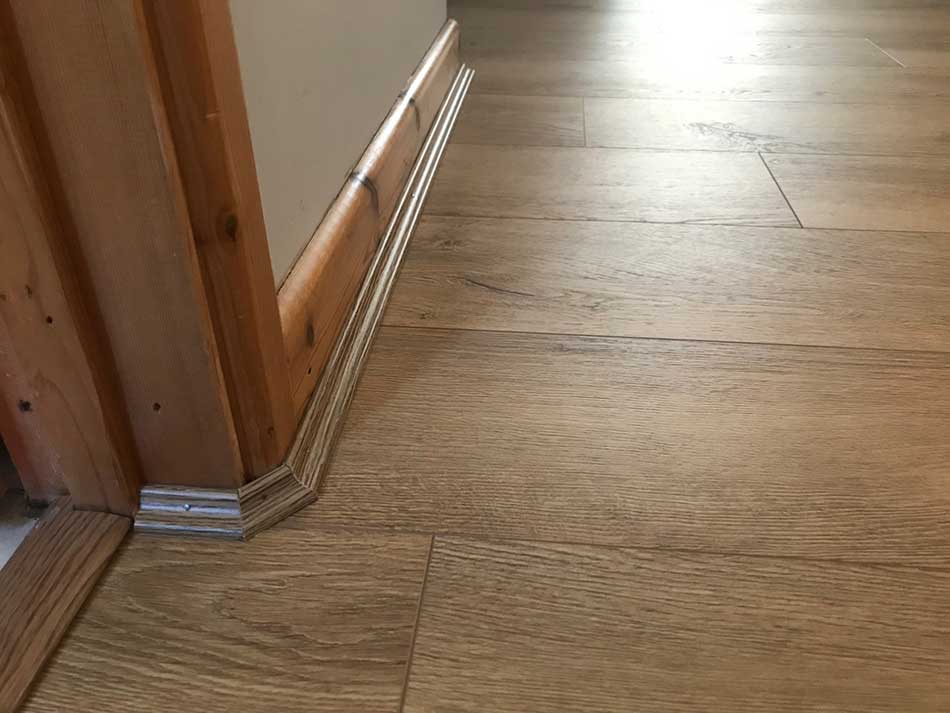
Instead I spent Saturday afternoon cutting loads of pieces of edging strip into specific lengths with mitre angles at either 45º or 22.5º to create myself a second little jigsaw puzzle. I did lay them out in the right places as I cut them! Each doorway needed 6 little pieces to go around the various corners and each one was different. The company we had bought the flooring from hadn’t sent the right amount though. We checked our order and we had ordered enough but there wasn’t that many in the package so in the end we were short of just three short pieces. Typical, I wasn’t going to be able to completely finish it this weekend. We’d have to get them to sort out the order, send the others and then I’ll have to get the tools out again to finally finish it off.
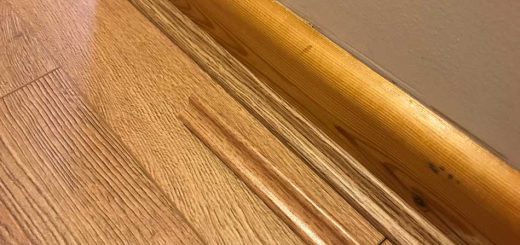
That kept me busy for most of Saturday so Sunday was spent tackling the doors. All of them had to come off, all of them had to be cut to size, planed and sanded and then all of them had to go back on. It took forever with only non-powered hand tools but I got there eventually. With that done it was time to crawl around on my hands and knees fitting the edging strip. And with that it was job done (almost).


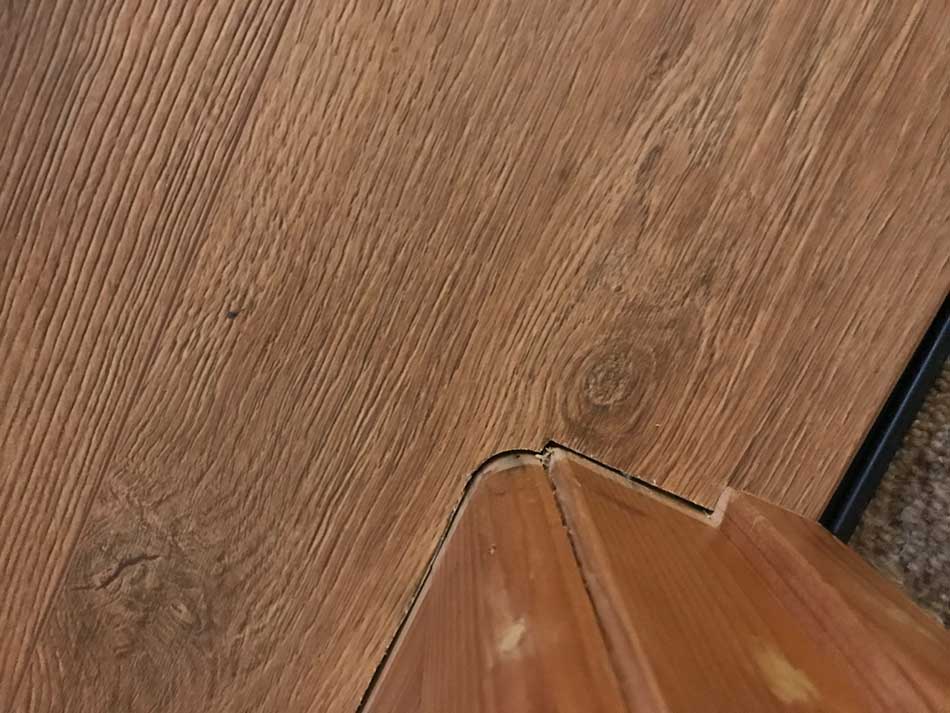
I still have three pieces of edging strip to cut to size and fit but once it arrives that shouldn’t take too long. There were also a few little places that I couldn’t fit edging strip. One of these is along the front door. There’s just no room for anything here now (not even a thin rug) so the expansion gap around the edge of the laminate and the underlay beneath it is showing. I’ve ordered some colour matched silicon sealant to fill in this gap. There is a similar gap behind the front door as well. This is because when the door is opened it is flush with the skirting board so there is no room for any edging. This little gap will get the same treatment.
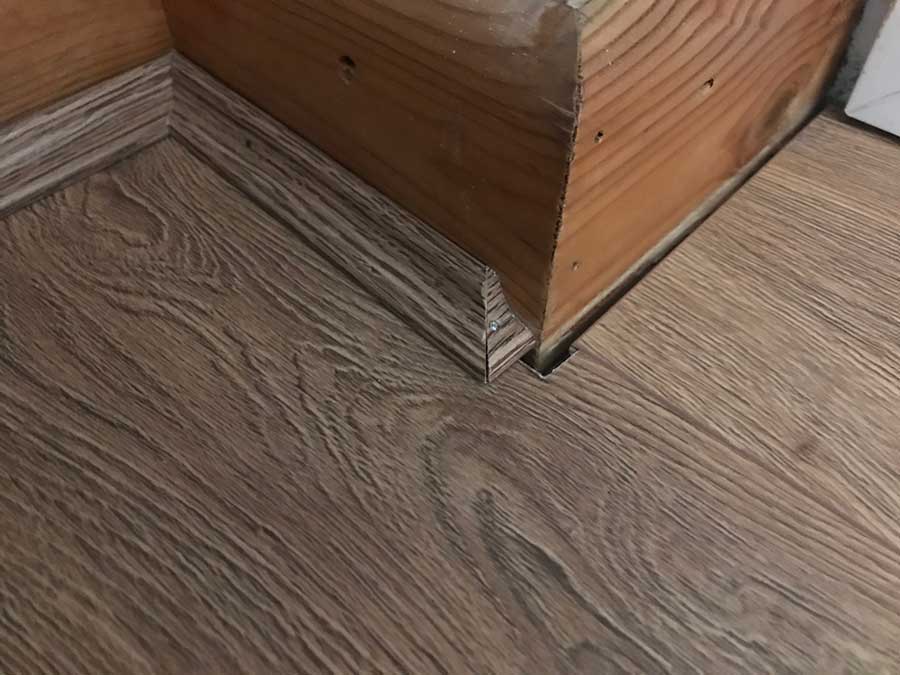
The same is true for the corners by the doors to the airing cupboard. But other than these few little filling jobs and the additional pieces of edging it is now all finished and looks pretty good.
A fairly productive few days and a good way to make the most of lockdown restrictions.
Discover more from A Simple Life of Luxury
Subscribe to get the latest posts sent to your email.
2 Responses
-
[…] is ever easy is it? I was getting on well with the laminate flooring project that I’d undertaken during lockdown. Everything had gone well and it was looking good. […]


Who’s a clever boy then
Looks lovely x