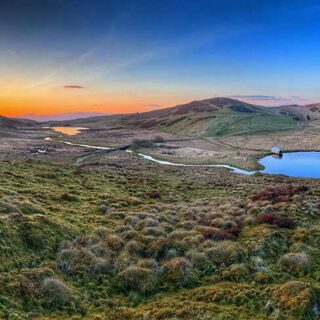
An Impromptu Adventure in the Welsh Wilderness
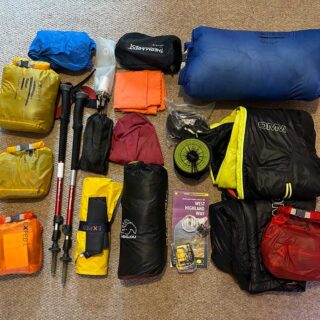
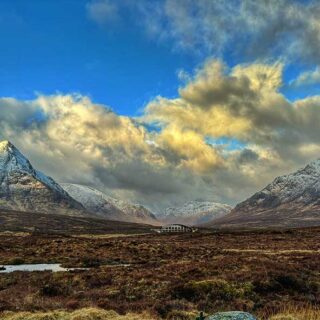
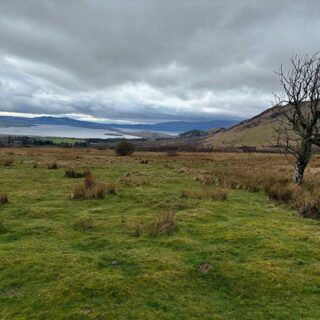
Starting off on Dylife Mountain Road, I soaked up the views from Foel Fadian. Camping by Llyn Bugeilyn after a day of lakes and peaks, misty nights and frosty mornings added to the adventure. It was a wild weekend to remember in the heart of Wales!