Mammotion Yuka Mini 500 – First Impressions
Having taken the plunge and upgraded our trusty, boundary-wire-guided Flymo robot mower to a GPS-guided Mammotion Yuka Mini 500, I thought I’d share some first impressions.
Scepticism, Satellites, and Software
To be honest, I was a little sceptical about GPS-guided mowers. I’ve used GPS in various ways for years, so I know both its strengths and its flaws. It’s certainly good enough for navigating, tracking hikes or rides, recording my speed whilst windsurfing and even counting the number of waves I surf. It works well for finding Tupperware in the woods when geocaching too — but relying on it to stop a lawnmower wandering off, chewing up my flower beds or worse still, going for a swim in the pond? That’s another matter.
And it’s not just GPS. The mower depends on software to interpret that GPS data and make decisions. And, well… all software has bugs. So I was a bit cautious, even if it did feel exciting. Call me a Luddite, but there’s something reassuring about a physical wire in the ground.
Installation and Charging
Installation was surprisingly easy. No need to dig in a boundary wire — a big bonus. We removed the old charging station, snipped off the old guide wires, and said goodbye to Hector, our loyal mower of four years. Poor Hector!
The new charging station slotted perfectly into the house we’d built for Hector. We plugged it in, placed the new mower — now named Yuki — on the charger, and let him take his first full charge.
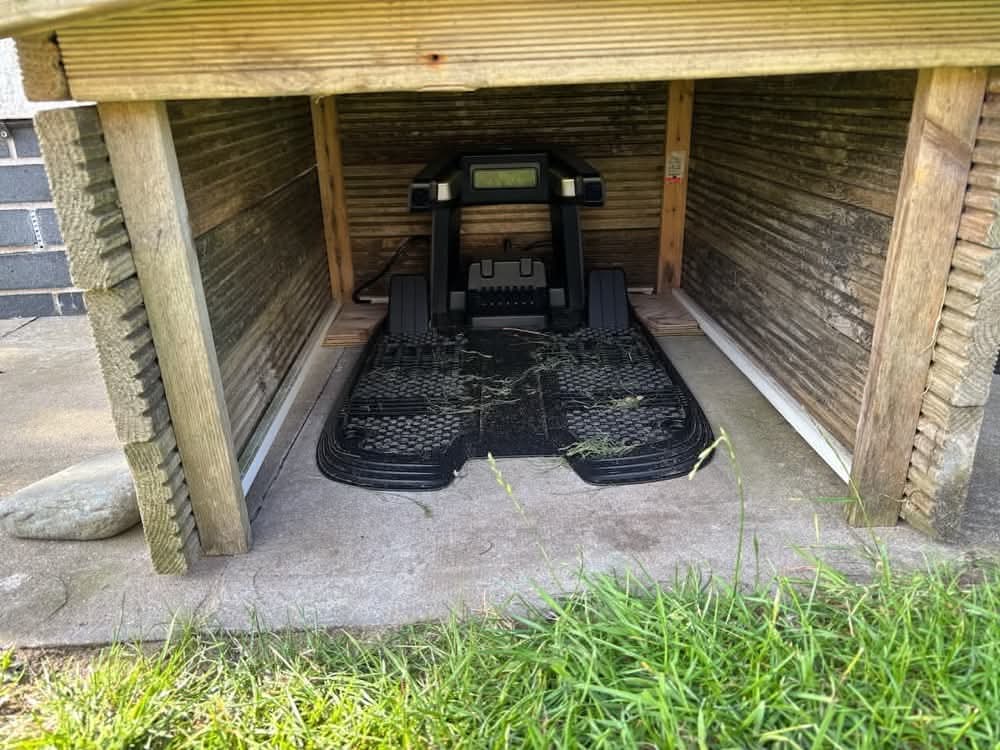
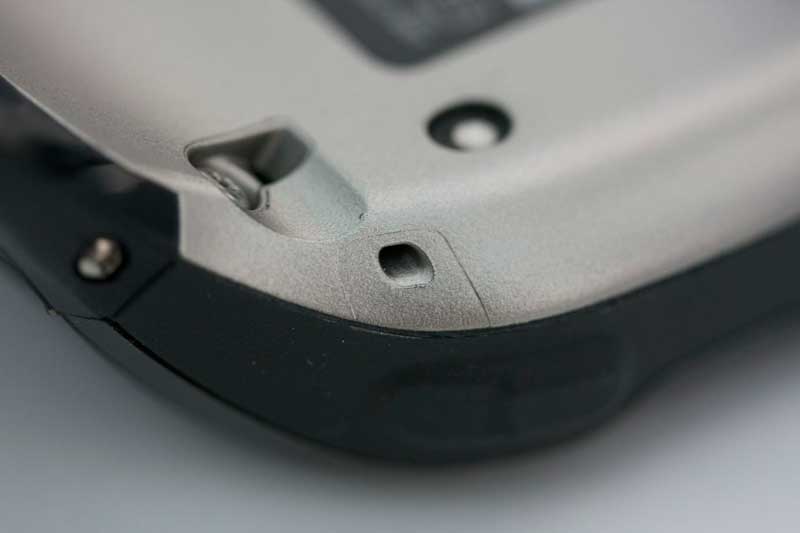
Charging contacts were always a bit of a pain with Hector — small, fiddly, and prone to getting dirty. Yuki’s contacts are much larger and more robust. They align easily with the dock, and are easier to clean.

RTK Antenna Setup
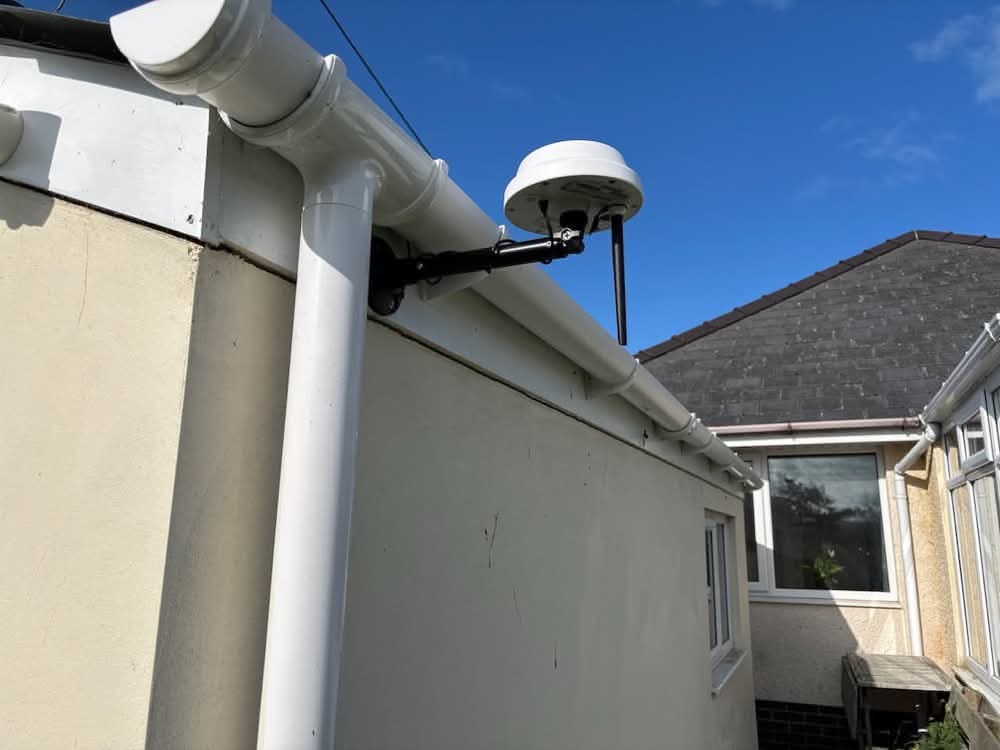
Next came installing the RTK (Real-Time Kinematic) antenna — the base station that feeds correction data to the mower for centimetre-level accuracy. It needs a clear view of the sky and ideally sits somewhere central in the mowing area.
We didn’t fancy drilling into the house, so we mounted it on the shed and powered it from inside. The mower supports multiple satellite systems — GPS, GLONASS, BeiDou, and Galileo — for improved accuracy and coverage.
I’m still not 100% sure how the antenna transmits its correction data to the mower (Wi-Fi? Bluetooth? Some other RF protocol?), but it works.
Mapping and Connection
After downloading the Mammotion App it was time to pair both the RTK antenna and the mower to the app. This was easy to do by following the prompts. The connection was made via Bluetooth, and from there, we connected them to our Wi-Fi network as well. There is also a built-in 4G SIM card that is used for remote communications with the mower when there is no wi-fi available (which might be the case at the bottom of the garden). The 4G communications needed no set-up, they were just working out of the box, but the 4G capabilities are only free for 6 months, after that there is a £49 annual charge for the service. It’s not essential as it’s only used for remote communications (more on that later) and if WiFi is available, you can use that for free instead.
With everything connected, we had to teach Yuki the layout of the garden. There’s an automatic mapping feature using the built-in AI camera, but the manual recommends against it for complex gardens or those with ponds (tick and tick), so we opted for manual mapping.
You guide the mower using app controls — forwards, backwards, left and right. It was responsive and surprisingly easy. In no time we’d traced the perimeter and set the boundaries.
Tasks and Zones
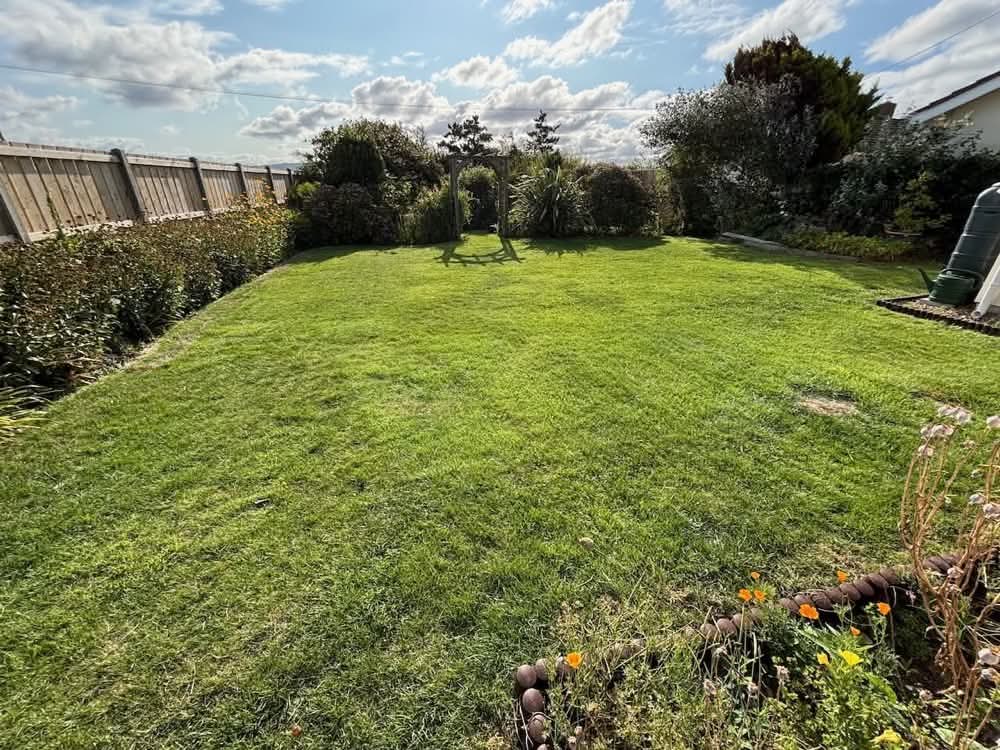
We mapped the whole garden as a single area — just 174m², apparently! In hindsight, we should have divided it into two or three zones. That would allow us to set custom mowing schedules (e.g., skip the soggy bottom corner when it’s wet). We might revisit that later, once we’ve fine-tuned the mapping.
When setting up tasks, there are various parameters you can set.
- You can decide what pattern he follows. You can have traditional stripes, a checkerboard or just a random pattern. You can also create lawn art with custom patterns and shapes if you want. You can also set him to do stripes in a particular direction, or to use an adaptive pattern where it decides the most efficient way to cover the lawn whilst still mowing in lines.
- You can set the speed that he moves at – we set him relatively slowly, as that should result in a better cut – he’ll just take a bit longer to cover the area.
- You can set the speed of the cutting disk – fast for a cleaner cut, slow for less energy use, or in the middle for a good balance.
- You can set the obstacle avoidance mode – off, standard or sensitive.
- You can set the path spacing to control the overlap between each pass
- You can set the way that it turns – on the spot or using a three-point turn
- There’s also perimeter mowing options that allow you to instruct the mower to do laps of the perimeter at the start or end of the task and how many laps it should do. We set it to do 3 perimeter laps at the end of the task.
There are some other options as well, and from what I’ve seen these are being added to and updated all the time.
First Performance Test
So far, I’m really impressed.
Our grass was a bit wild after Hector’s wire gave up the ghost, meaning it hadn’t been mowed for a few weeks. Yuki handled it well. He left the charging station, headed to the corner, and began mowing neat stripes.
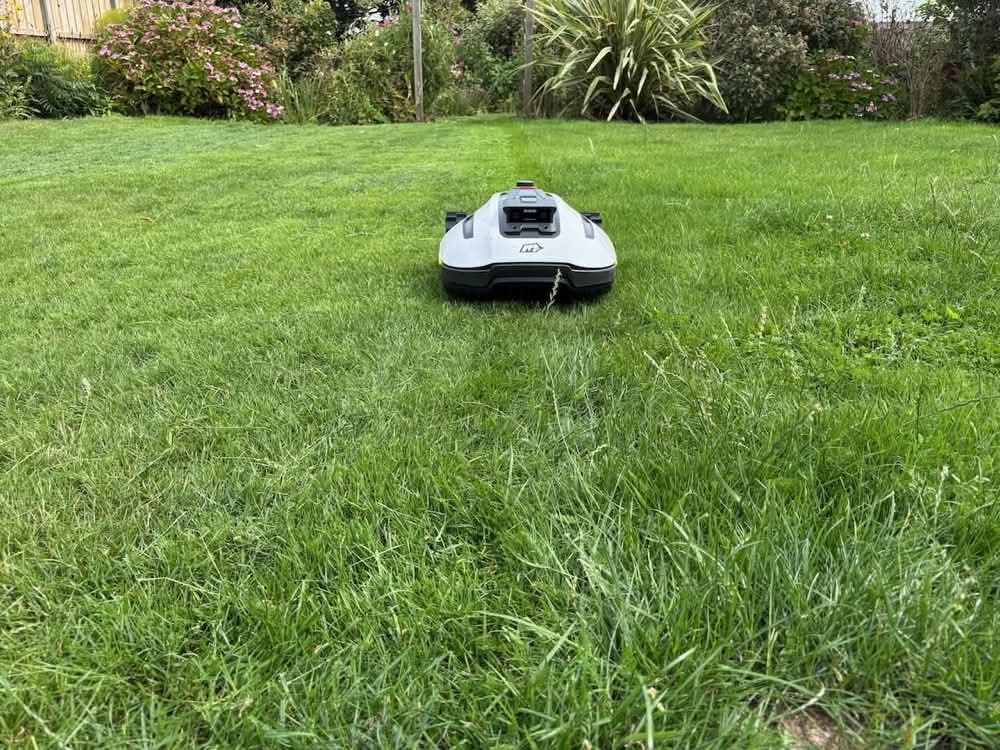
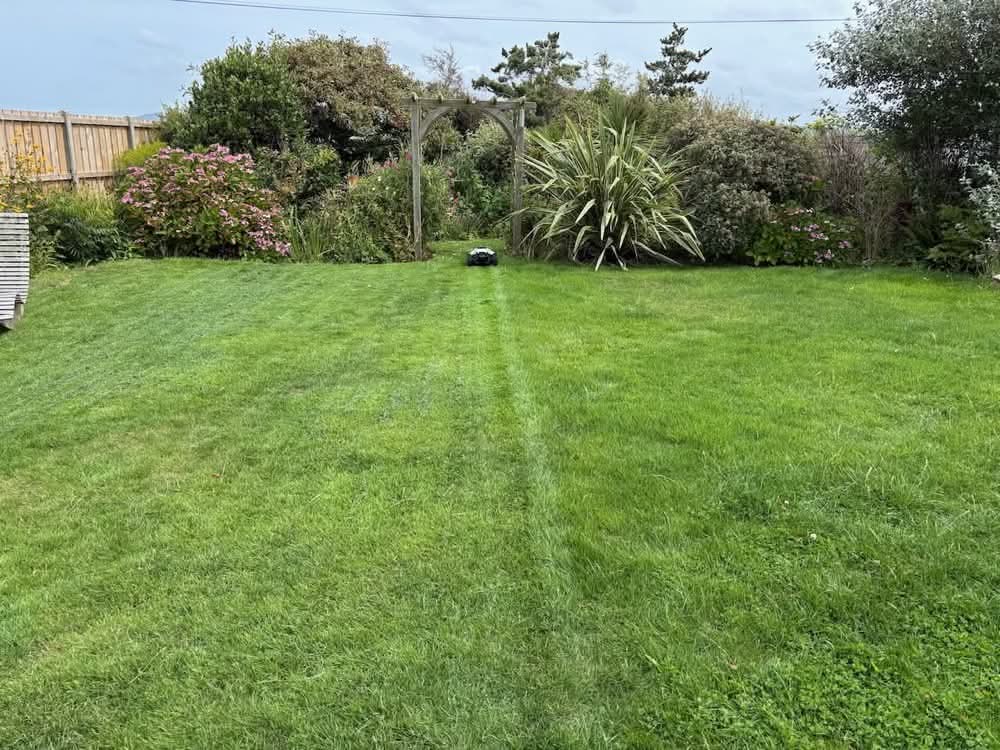
He navigated under the pergola, around flower beds and trees, and — crucially — avoided the pond. The cut was clean and even, and the lines look great. He mows right up to the edge on the perimeter laps as well. When his battery drops below 15%, he heads back to charge and docks accurately every time.
I moved his charging station about 10cm to the left this morning – just so that I could open the lid a little easier. I wasn’t sure if this would upset him but somehow he managed to adjust and still docked perfectly. Clever chap.
He’s had a few wobbles near the apiary — probably due to uneven ground and some wonky mapping on our part. We’ll fix that with an updated map and a few no-go zones.
Features & App Experience
I’ve already mentioned many of his features and all of the built-in technology in the form of GPS, RTK, 4G, WiFi, Bluetooth, AI-powered 3D cameras and such like, but he has a few other tricks up his sleeve too.
- Rain sensor – pause mowing if it’s wet
- LED headlights – for stylish night mowing. It’s actually quite cool to see him out on the lawn with his lights on mowing at night.
- Voice notifications – he talks to let you know what he’s doing
- Manual control – you can drive him around via the app
The app works well too. It shows you a whole host of information about the mower and also gives an accurate depiction of the map you’ve created. When the mower is out executing a task it even shows you exactly where on the map he is and shows you the exact lines that he will follow to cover the entire lawn. It shows the are he’s already mown as well, along with stats on the percentage of the task that has been completed and the time remaining.
There’s even an FPV (First Person View) option. This allows you to remotely view what the cameras on the mower can see. So you can have an immersive experience from the mower’s perspective!! You can even control him remotely from the FPV, so you could drive him around the lawn from the other side of the world if you so wished! I don’t think we’ll be doing this, but I guess it could come in handy if he got stuck one day while we were away – we might just be able to remotely control him to get him out of a sticky situation!
Final Thoughts
Despite my initial scepticism, I’ve been genuinely impressed so far. Setup was straightforward, the tech seems solid, and Yuki has handled our quirky, uneven, obstacle-filled garden with surprising finesse.
Time will tell how it fares in terms of robustness and long-term reliability, and we may still need to make a few mapping tweaks to reach lawn-care perfection — but for now, Yuki has already won a place in our hearts (and our garden). If he keeps this up, I might even forgive him for replacing Hector, and he’s likely to find himself mowing the front garden in place of Harriet as well.
Discover more from A Simple Life of Luxury
Subscribe to get the latest posts sent to your email.
2 Responses
-
[…] our latest mower in the back garden, is a relatively new addition, so I spent quite a bit of time giving him a good […]


That’s good then
You maybe called on to set other people’s up too after they read this blog as sounds a bit complicated .